First I cut out a sheet of mattboard, which slides across most surfaces, instead of catching like the plastic GW trays. No need for the "electric football" effect!
.I space them out one half inch apart, and then place my cork. That will not only look lik ethe base of the miniatures, but it will also hold them in place.
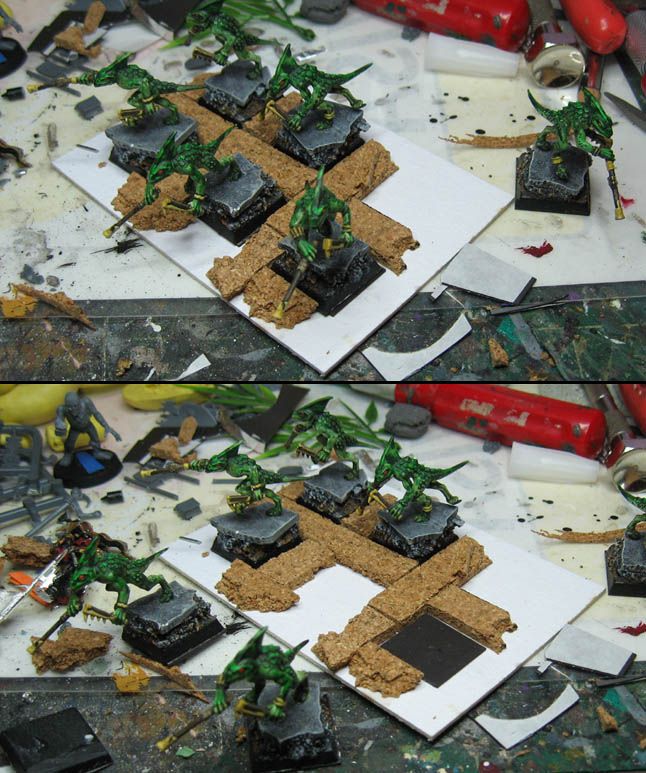
At this stage, I add my magnet pieces. These are self stick refrigerator magnets. I also have a piece stuck to the bottom of the miniature
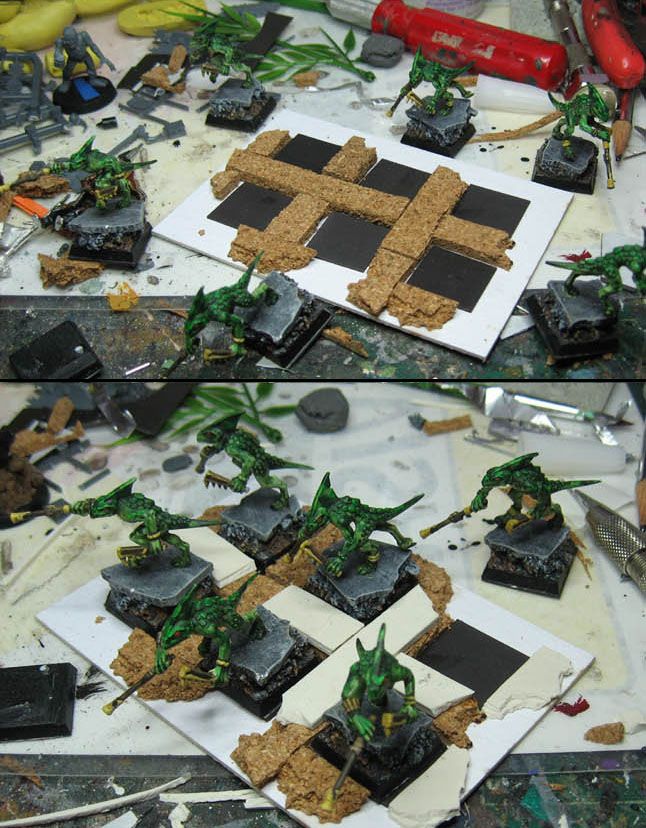
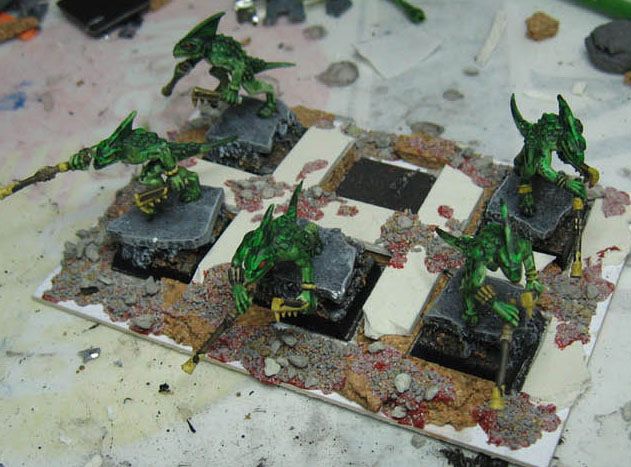
Once all the cork is down, I lay out my pieces of baked sculpey on top of that. After all those bits are secured, it is time to start getting some rocks and gravel on the tray! In this instance, I used some red oxide paste. It is something new that I received as prize support at Adepticon. I am liking it as a substitute for glue. It is essentially flex paste with sand.
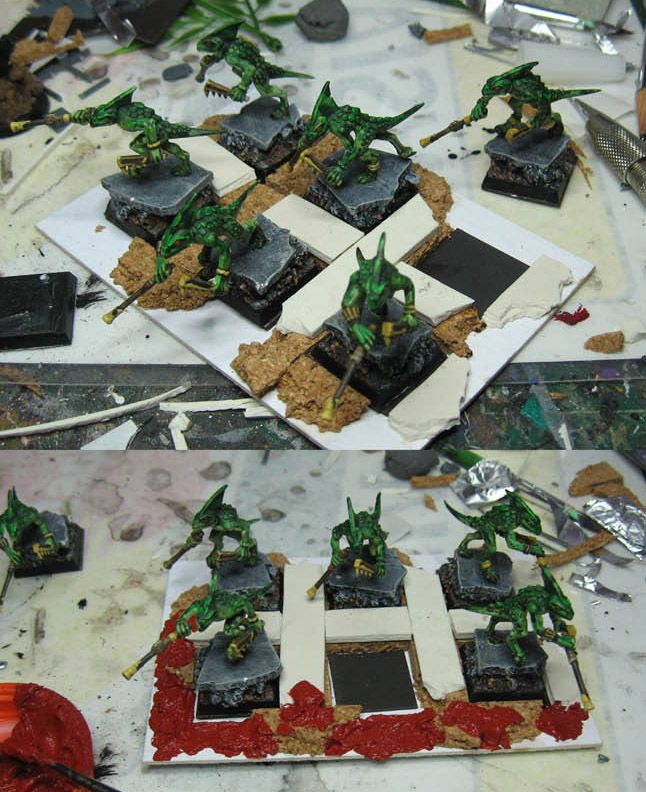
I work my way around the tray, putting down the paste, and getting down the gravel.
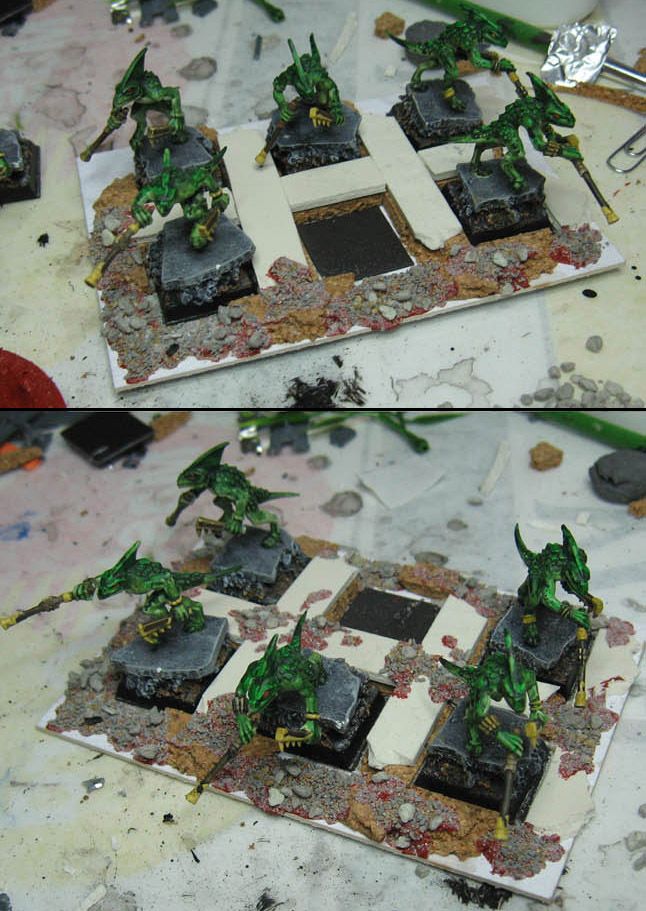
Once this process is done and everything has dried, it is time to knock off all the excess, and get to the painting! That post later...
Looking good, it's good to see something like this step by step.
ReplyDeleteI try to post as many useful tips like these as often as I can :-)
DeleteGood stuff - thanks very much for the tutorial! I always appreciate these and the basing / how you do things posts. Very nice of you to take the time :)
ReplyDelete